How to use Django forms without interacting with any model
Part 1: working with forms.Form

Software Engineer
Forms are very common when it comes to developing a website. A website can have multiple forms such as sign up form, login form, search form, contact form etc. You must define the form to ask for input from visitors. Working with forms can be hectic sometimes because you need to create an HTML form first to take inputs from the visitor, then you have to validate them to make sure the visitor has given the data you expected. to process them, if not then you may want to show error messages to the visitor, when all these steps are passed then only you would process the input data and show results accordingly. Fortunately, a lot of things are handled by Django itself. Django comes with a lot of tools and libraries that can help you work with these steps.
It is a series in which you will learn about forms, ModelForm, validations and custom validation.
This is the first part of the series. In this part, we will set up the project and learn how you can work with form without interacting with a model (or Database).
Project setup
Let us set up the project for the entire series. I will be using the same project for the entire series.
Create and activate a virtual environment
let us create a python virtual environment first. This will isolate this project from other projects on my computer. The main advantage of using a virtual environment is that your dependencies (e.g. Django, pillow, etc) will be installed for this project only. This way, different project dependencies will not be messed up. To create a virtual environment within the same directory you are in run:
python -m venv env
To activate it (on Windows),
env\Scripts\activate
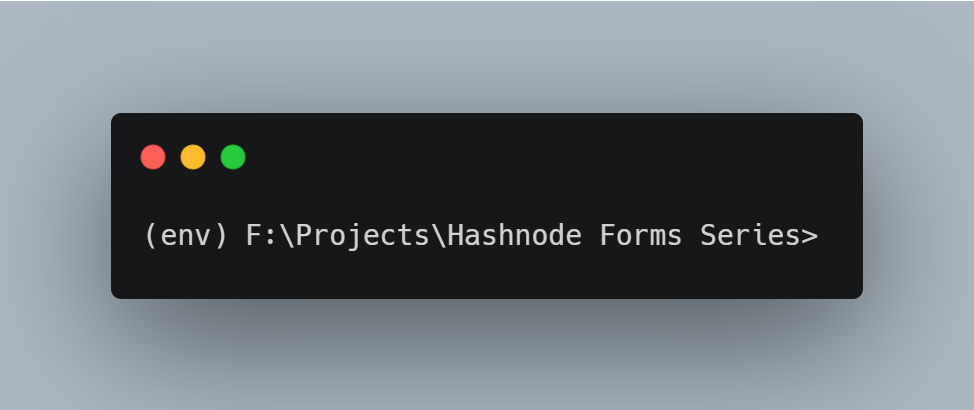
Once the virtual environment is activated, you should see (env) at the prefix of the command line. In my case, it is as below:
learn more about the virtual environment here
Start new Django Project: working_with_forms
Now that the virtual environment is activated. Let us install Django first and then start the project. I will be using Django 4.0 for this project. You can use any version; as long as it is 3+, it should align with this series. Let us create a new Django project as below:
pip install Django
Create a new project as below:
django-admin startproject working_with_forms
Once the project has been created, the file structure should be like this:
working_with_forms/
   manage.py
   working_with_forms/
       __init__.py
       settings.py
       urls.py
       asgi.py
       wsgi.py
Now change the working directory to working_with_forms
cd working_with_forms
Start an app called form_without_model
Before starting a new app make sure you have changed your working directory to a location the same as the manage.py file. Then run -
python manage.py startapp form_without_model
form_without_model/
   __init__.py
   admin.py
   apps.py
   migrations/
       __init__.py
   models.py
   tests.py
   views.py
working_with_forms/
   __init__.py
   settings.py
   urls.py
   asgi.py
   wsgi.py
manage.py
learn more about how to start a new project in Django here
Now that project set-up is finished. Let's dive into the main part which is understanding the forms in Django.
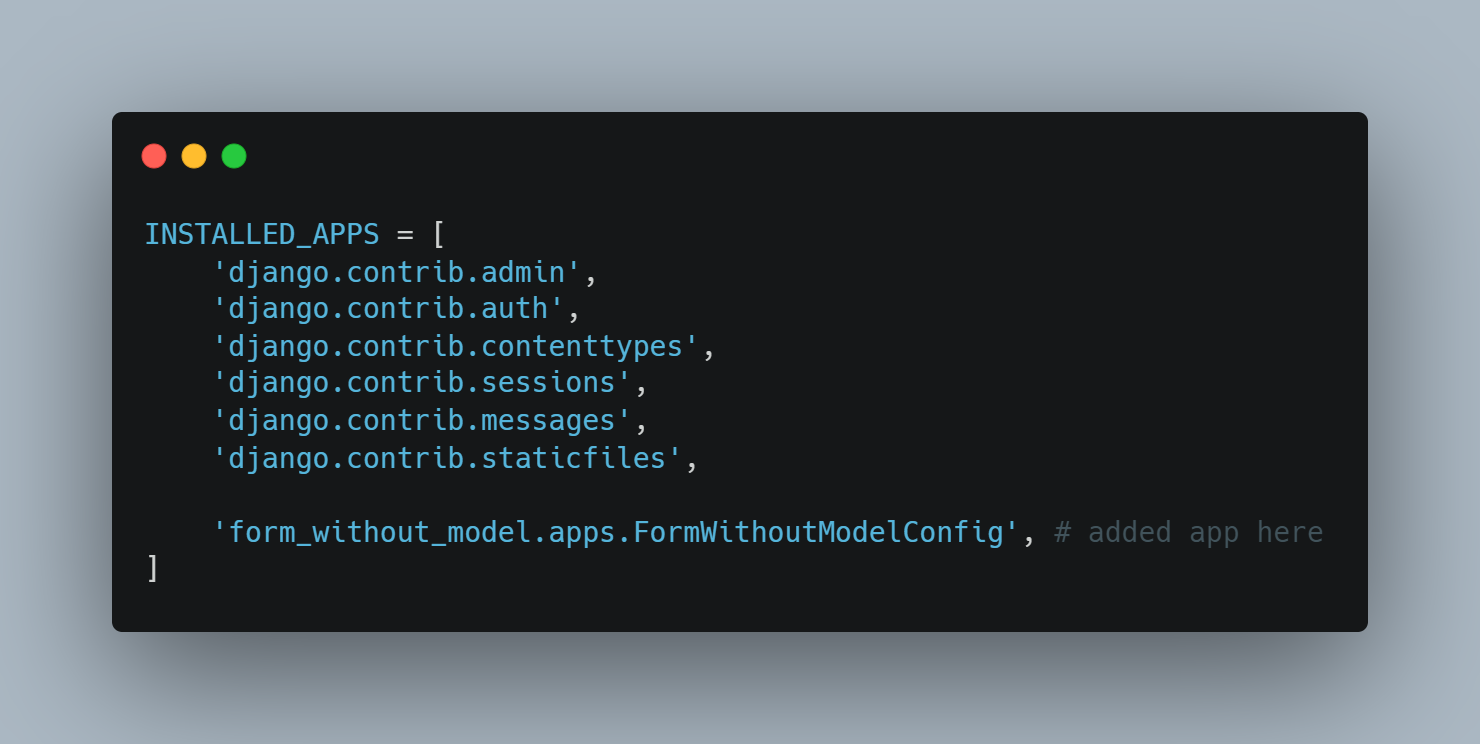
Register form_without_model app To let Django project aware that you have just created a new app within the project, register your app with INSTALLED_APP which is present in the working_with_forms/setting.py file
INSTALLED_APP should look like:
Run Migrations
python manage.py migrate
Run the website
python manage.py runserver
you can access the project via 127.0.0.1:800 or localhost:8000 these URLs.
Django Forms
Now that a working project has been set up. It's time to have a capsule. Django has a package called forms which handles all kinds of forms in Django. There are two ways that one can create forms in Django.
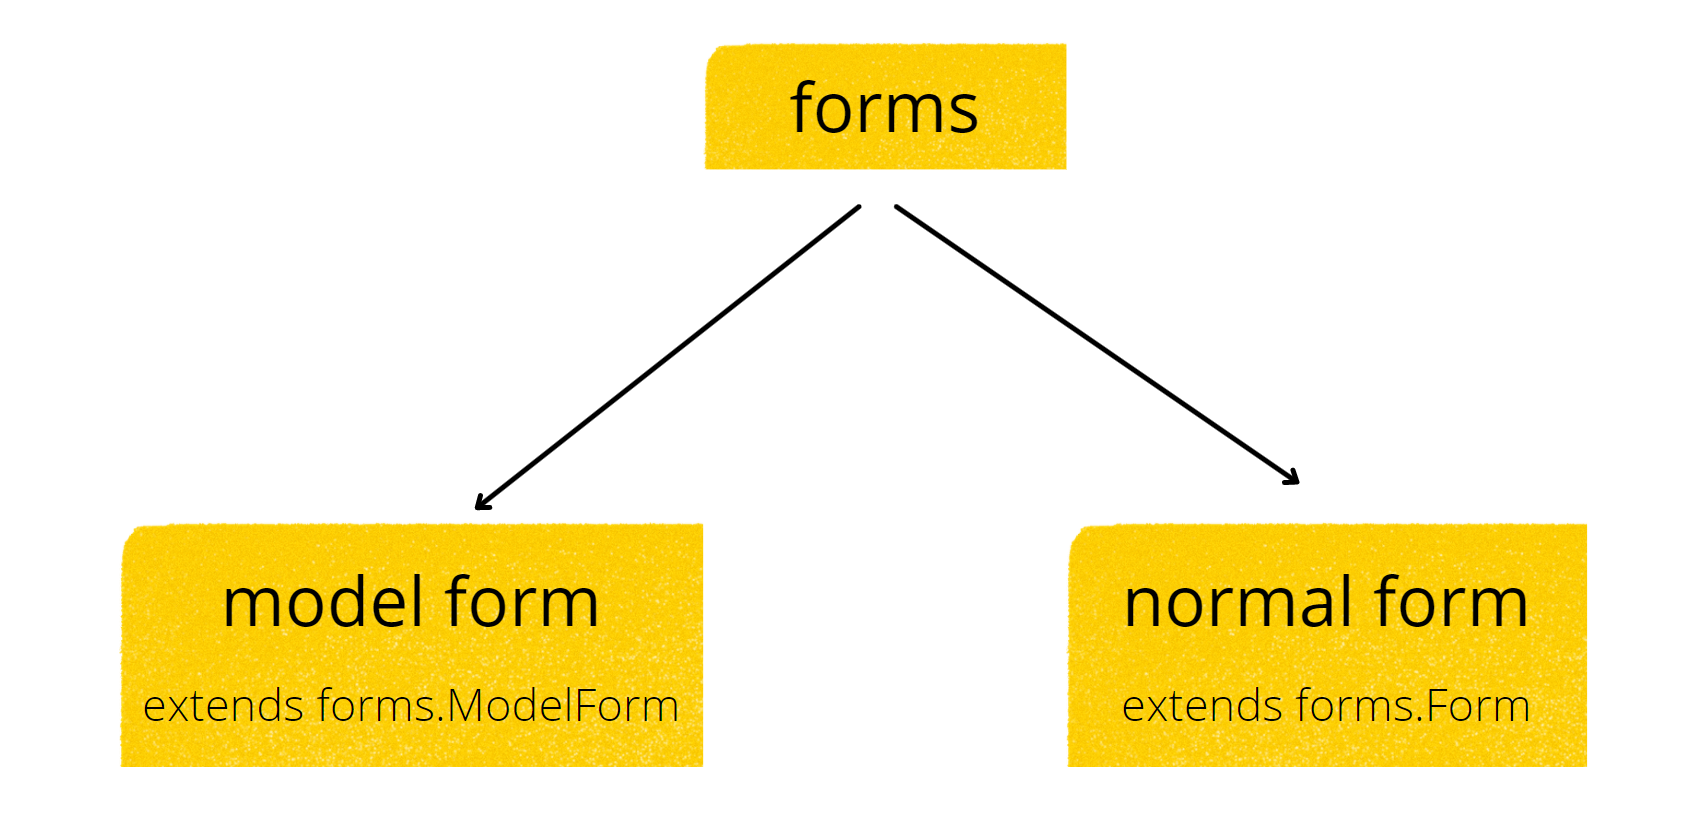
- one without need to interact with the model (or Database) In this approach, you will have to extend forms.Form class
- one that requires direct interaction with the model (or Database) In this approach, you will have to extend forms.ModelForm class
In this part of the series, we will look at how to use the first method.
Working with forms.Form
It is the simplest way of implementing a form in which you do not have to interact with the database. However, if you want you can still configure the model with this type of form but then you have to manually configure a few things which can be time-consuming. You can use the second option if you want to interact with the database. Since we do not interact with the model when working with this type of form, it is suitable for contact forms where you don't necessarily need to store responses in the database, rather you will be forwarding the message to the admin's email.
create forms.py file
It is always a good idea to separate different logics into different files of a project. Therefore, create a new file called forms.py at form_without_model file structure for form_without_model app should look like this:
form_without_model/
   migrations/
       __init__.py
   __init__.py
   admin.py
   forms.py  # newly added
   apps.py
   models.py
   tests.py
   views.py
Now let us create a contact form within form_without_model/forms.py:
from django import forms
from django.forms.fields import EmailField
from django.forms.widgets import Textarea

class ContactUsForm(forms.Form):
   name = forms.CharField(max_length=100)
   email = forms.EmailField()
   message = forms.CharField(widget=forms.Textarea)
To handle this form we have to define a view. Let us create a view for this form
form_without_model/views.py:
from django.http.response import HttpResponseRedirect
from django.shortcuts import render

from .forms import ContactUsForm

def contact_us_view(request):
   if request.method == "POST":
       form = ContactUsForm(request.POST)
       if form.is_valid():

           print('name:', form.cleaned_data['name'])
           print('email:', form.cleaned_data['email'])
           print('message:', form.cleaned_data['message'])

           # do whatever you want to do
           # for example, send an email

           return HttpResponseRedirect('/')
   else:
       form = ContactUsForm()

   return render(request, "contactus.html", {'form':form})
Here, what we are doing is that first of all we are making sure that the form has been submitted through a POST method, if so then populate the ContactUsForm that we have defined in the form_without_model/forms.py file. Then we are making sure that the form is valid or not, that is all required fields are filled or not etc. If everything is ok then we can process the form data, I am simply printing the form data, but you can send an email or anything you want. Note that once the form has been validated then the form data are stored in the cleaned_data in a key-value pair. Therefore, it is recommended to access the data from cleaned_data instead of POST directly. Finally, after the data is processed, the visitor is redirected to the landing page. Similarly, for any request method except POST, a new form is instantiated and rendered on the contactus.html page.
Create templates
To render the view on a webpage, Django uses templates. Therefore, let's create a template for rending the contact_form_view, as specified in the last line of the form view the template name must be contactus.html I have created the template in a new directory within the form_without_model directory. Hence the file structure looks like this:
form_without_model/
   migrations/
   templates/
       contactus.html
       __init__.py
   __init__.py
   admin.py
   forms.py  # newly added
   apps.py
   models.py
   tests.py
   views.py
add following contents to forms_without_model/templates/contactus.html:
<!DOCTYPE html>
<html lang="en">
<head>
   <meta charset="UTF-8">
   <meta http-equiv="X-UA-Compatible" content="IE=edge">
   <meta name="viewport" content="width=device-width, initial-scale=1.0">
   <title>Document</title>
</head>
<body>
   <form method="post">
       {% csrf_token %}
       {{ form.as_p }}
       <button type="submit">Submit</button>
   </form>
</body>
</html>
There are two things to be noted down here, the first one is the POST method in the form tag. The second one is {% csrf_token %} every time you deal with the form with POST method Django requires you to put them within form tag unless you have modified the defaults middlewares. learn more about Cross-Site Request Forgery protection here
Let's create one more template called index.html in the same template directory. We will treat it as the landing page of our website.
setup paths (urls)
Finally, to link things together the final step is to configure the URLs. got to working_with_forms/urls.py and add the following:
from django.contrib import admin
from django.views.generic.base import TemplateView # import this
from django.urls import path

from form_without_model.views import contact_us_view

urlpatterns = [
   path('', TemplateView.as_view(template_name='index.html'), name='landing_page'),
   path('admin/', admin.site.urls),
   path('form-without-model/', contact_us_view) # form url
]
TemplateView is a built-in class-based view that can be used to render a template. Here, I am using it to save some lines of code, otherwise, I will have to define a view for the landing page also. You can access the form via 127.0.0.1/form-without-model/ or localhost/form-without-model/.
run the localserver by running the command python manage.py runserver and open up a browser and hit localhost/form-without-model/ or 127.0.0.1/form-without-model/ the result should look like:
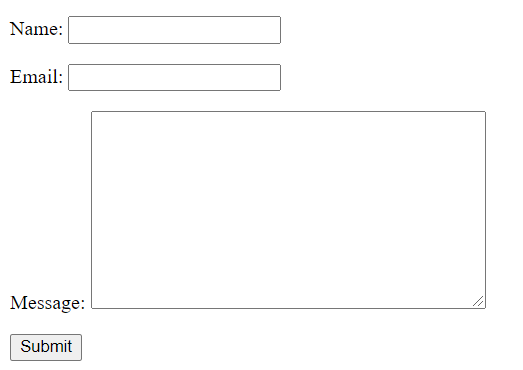
Let's fill some random data:

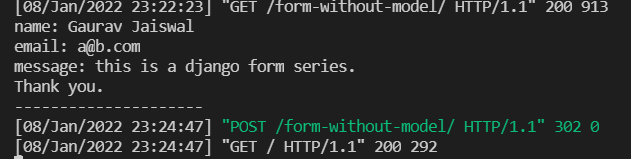
The output on the console should be like this:
That's all for this part of the series. Let me know if you have any doubt in this portion of the series in the comment section below!!